Showing posts with label babyfood. Show all posts

Tuesday, August 25, 2015

Starting solid for baby and beyond 宝宝辅食王中王


This book (300 pages) is a must-have for parents weaning baby and starting solids for the first time. It's loaded with simple, practical recipes and advice, including recipes to boost appetite 开胃、strengthen teeth 保护牙齿、allergy 过敏、vomiting 呕吐、diarrhoea腹泻、constipation 便秘、heatiness 上火 and more。The recipes carry you through each stage of solid introduction, from 4 month onwards up till 12 months,from purees and grains to finger foods. It also includes tons of tips and helpful hints on what babies should eat and shouldn't and the reason why.You'll learn how to put together ingredients, how to allow your baby to explore new tastes and textures and how to deal with feeding problems. 

Price RM36 (not including postage)

Saturday, March 1, 2014

Zucchini quiche for baby (gluten free)*


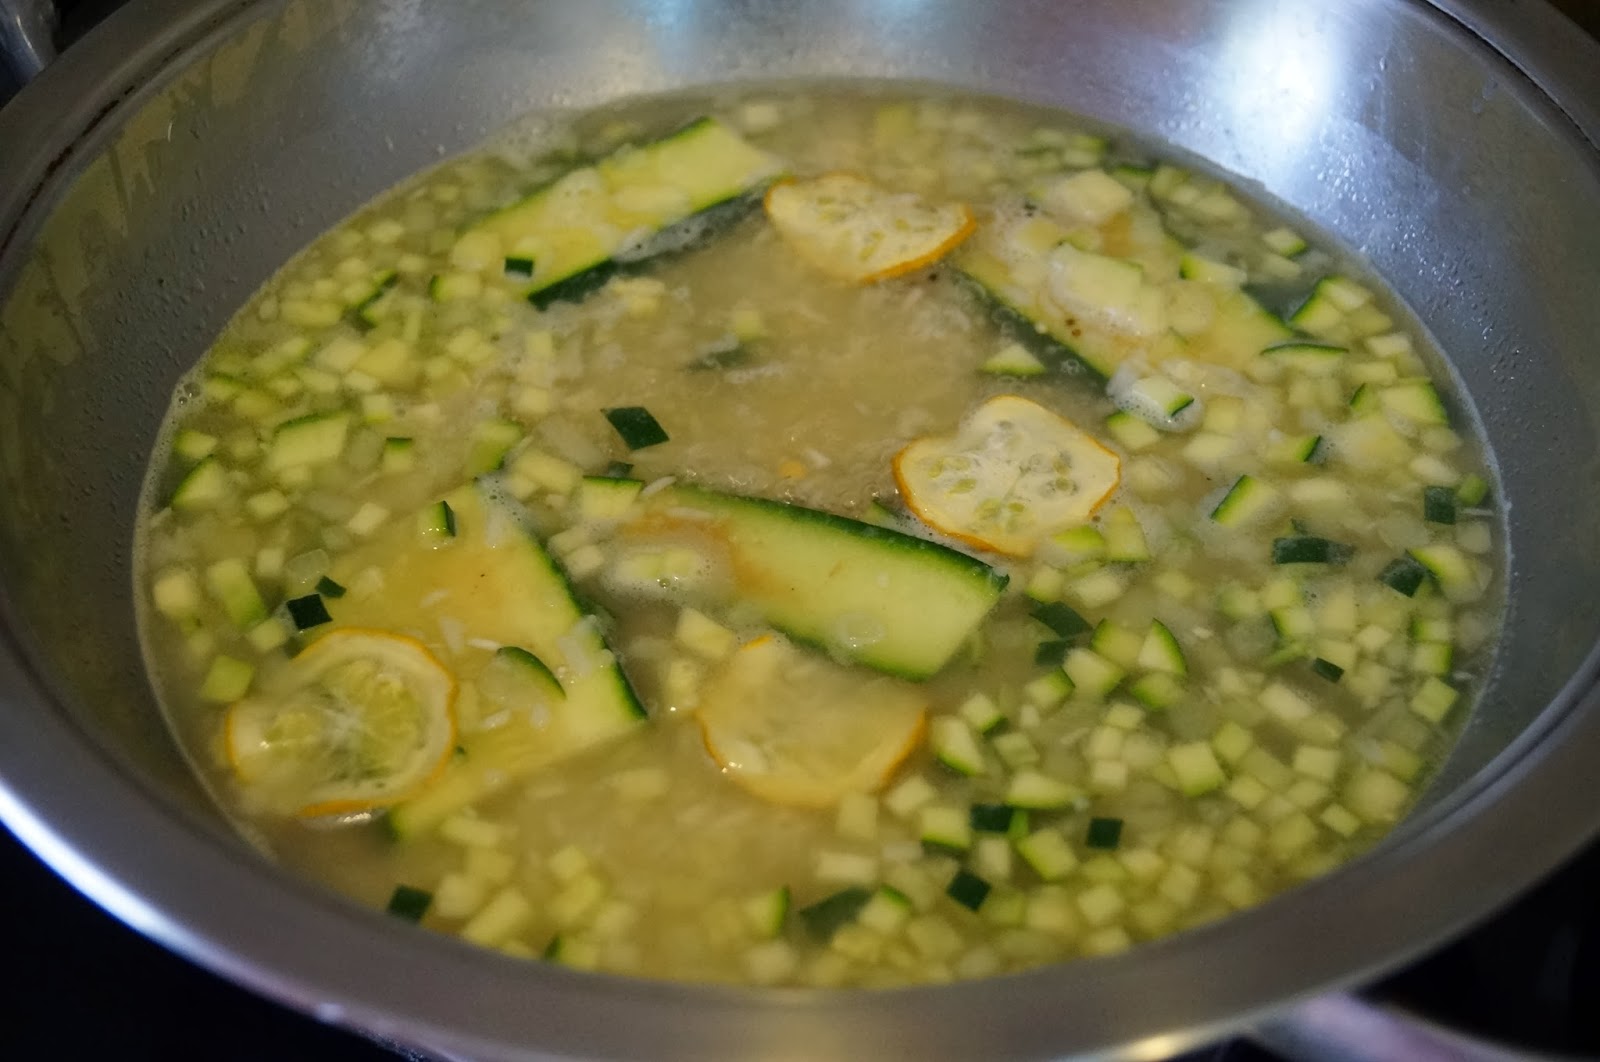
I made these beautiful morsels for the little fella for dinner. I halved the original recipe yielding only 5 baby quiches. Guess what? The little fella finished 4 of them. Must be yum ya? I paired them up with potato and zucchini soup, topped with chopped avocado.

If you have a baby on gluten free diet, replace the baby corrallini pasta with cooked brown rice or cooked quinoa.

For the recipe of baby quiche, you'll need:
(This recipe makes 5-6 baby quiche)
  • 1cup grated zucchini
  • 1egg
  • 1/2 small onion, finely diced
  • 1clove garlic, finely minced
  • 1/4 cup Cheddar cheese, grated
  • 1/4 cup baby corallini pasta or gluten free option: cooked rice or cooked quinoa
  • pinch of salt and black pepper (optional)
Instructions:
1. Sprinkle the shredded zucchini with a pinch of salt, allow to sit for about 5 minutes before squeezing out the excess liquid. After wringing out, place in a large bowl.
2. Add the eggs, onion, garlic, cheese, cooked pasta, salt, and pepper to the shredded zucchini. Stir until evenly combined.

 
3. Scoop the mixture into the prepared mini muffin tin, filling each well to the top.
 
 
4. Bake at 180degC for 18-20 minutes, until golden. Allow to cool slightly before removing to a wire rack to cool. Leftovers can be stored in an airtight container in the refrigerator. Reheat at 350ºF for about 8-10 minutes, until heated through.


Tuesday, February 25, 2014

Spinach bread loaf for breakfast (delay timer on Breadmaker)

I think the family and I are quite bored of the usual oat bread that we've been having so let's do something different for breakfast. I bought a few bunches of nice green spinach. Gave them a quick blanch in hot boiling water and puree them. I then used this green puree to bake a bread. I've set the breadmaker on delay timer (prepped everything at 8pm the night before and set the breadmaker on timer) so that I can have freshly baked loaf ready for breakfast.
 
It was 6:30 am and I could hear the sound 'beep beep beep' from my bedroom. I quickly ran downstair to check out the loaf. The aroma of the freshly baked bread has already assured me that it's good one. I opened up the lid and tada!! .. greeted by a great-looking green spinach loaf. I took the loaf out of the breadpan and let cool and gone to get ready for the day. By 7am, the loaf has cooled down nicely and was ready to be sliced.
 
I love the natural green color imparted by the spinach puree. But for those who doesn't like the green earthy taste from vege, don't worry. This green loaf doesn't have the green earthy raw taste.
 
For the sandwich filling, I used the same three-cheese filling that I have previously shared in my post on Japanese green tea loaf.

Updated 19th April 2014: This recipe only fits a 1-pound loaf tin. If you want a bigger recipe to fits a 2-pound loaf tin, try reference this.


For recipe of the green spinach loaf
 
 
Scalded dough
 
  • 100g bread flour
  • 70g boiling water 
 Pour hot boiling water over bread flour. Mix to combine. Leave cool for 30min in fridge.

Main dough
*The ingredients were added into the breadmaker pan in the following order
  • 100g spinach puree (prepared from pureeing blanched spinach)
  • 50g water (normal room temperature)
  • 40g grapeseed oil
  • 2tbsp soy milk powder / milk powder (I usually just add milk into my bread, but since this bread is not gonna bake until about 7hrs later, I wont be adding milk, fear that it may go off easily in Malaysian weather)
  • 2tbsp molasses sugar
  • pinch of salt
  • 200g bread flour
  • 50g all purpose flour
  • pieces of chilled scalded dough scattered on the side, on top of flour
  • make a well in middle of flour, and place in 3/4 tsp. active dry yeast
Adjust settings for the bread: size - 700g ; crust - light.

Pre-set the timer. It was 8pm in the evening and I wanted the bread to be ready by 6:30am, so the timer setting would be 10:30 hour.


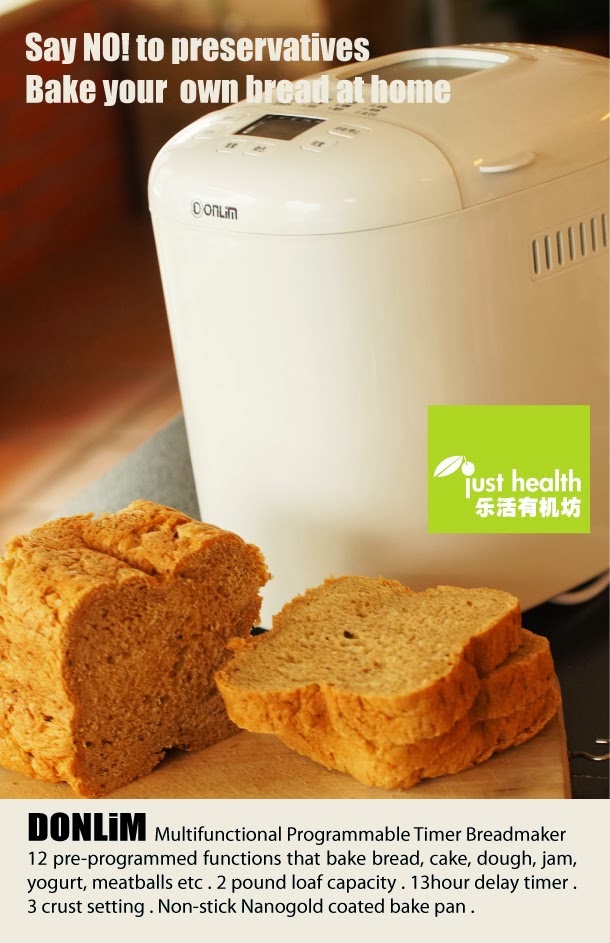
This is the breadmaker I've been using. For info, kindly refer here or email justhealthsandakan@gmail.com.


Friday, February 21, 2014

Dried zucchini chips

Zucchini is not readily available where I am, so I asked my mom to bring some back to me when she was visiting from Peninsula Malaysia. She brought back quite a lot, and the lil' fella may turn into a ZUCCHINI eating them everyday :D. So instead of feeding him zucchini everyday, I decided to dehydrate some so that I can keep them stored in the fridge and use them in his meal or for baking later on. I added some of the dehydrated chips when cooking his congee and it worked well. The zucchini tastes exactly like the fresh ones.
 
1. Firstly, wash the zucchini thoroughly. Thinly slice them to about 2mm thickness.
2. Dip them in a vinegar solution (1 cup water + 1tbsp apple cider vinegar).
  
 
3. Season them with sea salt and black pepper (optional).
4. Arrange them on dehydrator food trays.


5. Adjust the temperature to 60deg C.
6. Turn on the dehydrator.
7. 6 hours later ....


Store in an air-tight container.
It will last for 2-3 weeks in room temperature,
1month in fridge
3months in freezer
 
Immediately, I tried adding them into the lil' fella's congee to find out how it differs from fresh ones. Surprisingly, it tastes exactly the same like the fresh ones! How great! You can also do the same with tomato, pumpkin, sweet potato and onion too!


For info on this dehydrator, please refer here.

Wednesday, February 19, 2014

Cheese sticks for baby

I did pumpkin cheese sticks for the lil' fella when he was about 8month old, then I stumbled upon this recipe which uses even less ingredients. Even though he's way over 1 year now and he can eat almost anything, but a simple recipe is still what I like. Woke up at 6:30am today and that's consider early, cos he doesn't wake till about 7:15am and I only need 15min to prep his lunch, so I got together some ingredients (and even snapped some photos) to bake these lovely cheese sticks. The original recipe has baking powder in it, I actually forgot to add them and they turned out just as nice, guess it's okay to omit them, especially if you have a baby who's still under 10month old.
 
This is a great teether or finger snacks for the baby, especially if travelling in a car or in a stroller.
 
 
You'll only need 4 ingredients, flour, butter, cheese and milk.


You'll only need 4 ingredients for this recipe:
  • 1cup all purpose flour (or known as plain flour)
  • 2tbsp butter, chopped into little cubes (Do not melt them)
  • 1/2 cup grated Cheddar cheese plus 1tbsp grated Parmesan (but Parmesan is optional)
  • 3-5tbsp fresh milk *the amount of milk added may differ depending on your flour used

And I've used my breadmaker to combine everything and form a dough. (I've been using it to make all sorts of food lately, just made some bagels last night and they turned out fab. It's so dainty I actually bring it to work with me and them carry it home in the evening).

To make the dough in the breadmaker,
  1. Sift flour into the breadpan. Press mode no. 6 和面 and select timer 时间 to adjust the timing to 8minutes. Add in chopped butter. Let them combine until the mixture resembles breadcrumb.                              
  2. Add all cheese. Mix well.
  3. Drizzle in milk while machine continues to mix. Continue mixing until dough forms.
  4. On a floured board, roll dough into a flat sheet, about 0.2cm thick (see photo above). Cut into 2cm wide strips.                           
  5. Gently twist strips while placing them on a greased baking tray.
  6. Bake at 180°C for 10–15 minutes, or until golden. Cool on a wire rack.

Tuesday, February 18, 2014

Yogurt milk bun with cranberry


This is just another variation of the baby soft milk bun recipe I have always used, but I just replaced the 230ml liquid with 250g of yogurt milk I've made using my breadmaker. The buns turn out to be really soft and it doesn't has the sourness from the yogurt.

Without the addition of any softener or bread improver, this recipe still yields very fluffy bread and the bread remains soft for at least 24-48 hours if well kept in an air tight container. I’ve also taken out the egg and replaced the liquid of this recipe to milk or baby food puree, making it a perfect snack for kids and toddlers. This recipe is also great with a bread maker.
 
This recipe involves the preparation of a starter dough (or known as scalded dough). The reason for this is to partially break down the gluten in the bread flour, thus creating more volume and fluffiness to the bread (the soft bread that I wanna bake for my baby).
 
Recipe adapted from Alex Goh's Magic Bread.
 
Makes about 9 buns (about 100g each)
Starter dough / Scalded dough
100g bread flour
70g boiling water

To prepare the starter dough, pour boiling hot water over flour and stir with folk until combined into a slightly tacky dough. Cover and chill in the refrigerator. Keep for 20min before use, can keep up to 12hours in refrigerator.
 
Main dough
300g bread flour
50g oat flour/ wholemeal flour (optional, if not just replace with all purpose flour/plain flour)
50g all purpose flour/ plain flour
3tbsp brown sugar
Pinch of salt
1tbsp instant dry yeast
250ml plain yogurt milk (made from breadmaker)
60g grapeseed oil

For the Main Dough:
1. In a big bowl, mix together bread flour, plain flour, brown sugar and salt. Add in oat flour. Add instant dry yeast and mix well. Form the flour mixture into a well. Add liquid (water or milk or puree) and oil.  Mix to combine. Tear the starter dough in little pieces and knead into the main dough. Knead for 10-20 minutes until smooth and elastic. During hand kneading, the dough also needs to be thrown onto the working surface once every few minutes between kneading to improve the dough structure. (I usually just pick up the dough to about head-high and throw it down onto the working surface few  times every few minutes between kneading.)
2. At this stage the dough should be able to be pulled and stretched into a thin membrane (Refer to picture no. 4 and 5. window pane test: Grab a ball of the dough and try stretching the dough until it is as thin as a membrane without tearing), another test to know if it’s ready is the poke-a-hole test. Use your finger to poke a hole in the centre of the dough. The hole should not bounce back. It’s ready if it passes both test. The dough should be slightly tacky but not sticky or moist.
Picture no. 4 Window pane test

Picture no. 5 Window pane test
 
 
First Proof/ Rise
Form the dough into a round ball and let it rise until double in size in a large greased bowl, cover with cling film (should take about 1 hour in warm weather, longer in winter months). Optimum room temperature for this first prove is 28°C with a humidity of 75%. To test if the dough has risen properly, dip a finger into bread or plain flour and poke down into the centre of the dough as far as your finger will go and pull out again – the hole should remain if it is ready (refer to picture no. 6). If the dough springs back, then it is not ready, continue to proof further.
3. Punch down (picture no. 7), knead and form into a ball shape. Then divide into small portions, about 60-100g each. Form each into balls and let rest for 10 minutes.
4. Shape and fill the buns (optional). Brush top of bun with egg wash/ water or milk.
My choice of topping: chopped pumpkin seeds and brown sugar.
Second Proof/ Rise
Place all finished buns on a greased baking sheet, lightly cover with cling film, and let rise until double in size (about 1 hour in warm weather). Optimum room temperature for this final prove is 38°C with a humidity of 85%.
5. Bake in preheated 170°C oven for about 16 to 20 minutes, or until golden brown. Oven temperature may differs according to make of oven.
 
http://a-nutritionist-mom.blogspot.com/p/donlim-multifunctional.html
 
Please refer here, or email justhealthsandakan@gmail.com for info on this breadmaker.
 

Friday, February 7, 2014

Soft milk bun for baby

I've tried this recipe for countless times. Made many variations and many adaptations to it. But I'm never bored of it. I'm sharing it in my blog, again, cos I'm teaching a group of mommies to make these, hands-on, and thus, I'm sharing the pictorial description here for easy referral.


1-3: Kneading 4-5: Window pane test 6:After first rise 7:Punch down 8:Shape 
Note: There's color variation to the dough in these pictures cos this photo collage is formed from two different bakes, one is a pumpkin bread dough, another one is a red bean and wild rice milk dough.

Without the addition of any softener or bread improver, this recipe still yields very fluffy bread and the bread remains soft for at least 24-48 hours if well kept in an air tight container. I’ve also taken out the egg and replaced the liquid of this recipe to milk or baby food puree, making it a perfect snack for kids and toddlers. This recipe is also great with a bread maker.
This recipe involves the preparation of a starter dough (or known as scalded dough). The reason for this is to partially break down the gluten in the bread flour, thus creating more volume and fluffiness to the bread (the soft bread that I wanna bake for my baby).
Recipe adapted from Alex Goh's Magic Bread.
Makes about 10-14 buns
Starter dough / Scalded dough
100g bread flour
70g boiling water

To prepare the starter dough, pour boiling hot water over flour and stir with folk until combined into a slightly tacky dough. Cover and chill in the refrigerator. Keep for 20min before use, can keep up to 12hours in refrigerator.

This is how my starter (or scalded) dough looks like.


Main dough
300g bread flour
50g oat flour/ wholemeal flour (optional, if not just replace with all purpose flour/plain flour)
50g all purpose flour/ plain flour
2tbsp milk powder / soy milk powder
5tbsp brown sugar (adjustable from 1-5tbsp)
Pinch of salt
1tbsp instant dry yeast **(Note: I later on adjusted this amount to  just 1 teaspoon of yeast) 
230ml lukewarm water / milk / combination of milk and puree from vegetable
60g grapeseed oil

For the Main Dough:
1. In a big bowl, mix together bread flour, plain flour, milk powder, brown sugar and salt. Add in oat flour. Add instant dry yeast and mix well. Form the flour mixture into a well. Add liquid (water or milk or puree) and oil.  Mix to combine. Tear the starter dough in little pieces and knead into the main dough. Knead for 10-20 minutes until smooth and elastic. During hand kneading, the dough also needs to be thrown onto the working surface once every few minutes between kneading to improve the dough structure. (I usually just pick up the dough to about head-high and throw it down onto the working surface few  times every few minutes between kneading.)
2. At this stage the dough should be able to be pulled and stretched into a thin membrane (Refer to picture no. 4 and 5. window pane test: Grab a ball of the dough and try stretching the dough until it is as thin as a membrane without tearing), another test to know if it’s ready is the poke-a-hole test. Use your finger to poke a hole in the centre of the dough. The hole should not bounce back. It’s ready if it passes both test. The dough should be slightly tacky but not sticky or moist.
First Proof/ Rise
Form the dough into a round ball and let it rise until double in size in a large greased bowl, cover with cling film (should take about 1 hour in warm weather, longer in winter months). Optimum room temperature for this first prove is 28°C with a humidity of 75%. To test if the dough has risen properly, dip a finger into bread or plain flour and poke down into the centre of the dough as far as your finger will go and pull out again – the hole should remain if it is ready (refer to picture no. 6). If the dough springs back, then it is not ready, continue to proof further.
3. Punch down (picture no. 7), knead and form into a ball shape. Then divide into small portions, about 60-100g each. Form each into balls and let rest for 10 minutes.
4. Shape and fill the buns (optional). Brush top of bun with egg wash/ water or milk.
Second Proof/ Rise
Place all finished buns on a greased baking sheet, lightly cover with cling film, and let rise until double in size (about 1 hour in warm weather). Optimum room temperature for this final prove is 38°C with a humidity of 85%.
5. Bake in preheated 170°C oven for about 16 to 20 minutes, or until golden brown. Oven temperature may differs according to make of oven.
Here are some of the buns and bread loaves I've made using this recipe:
Fresh blueberry bun

Soft brown bread (bread maker)

Bounce back even when pressed into

Red bean milk loaf
This recipe is also great with bread-maker. I've always knead and first proof the dough using my bread machine and do the second proof and bake in my oven.

http://a-nutritionist-mom.blogspot.com/p/donlim-multifunctional.html

Monday, February 3, 2014

Brioche (made in bread maker)

In where I am, there was a bakery that sells really really nice breads and buns. But it closed down many years ago. It sold a loaf, known as the butter loaf. I miss it very much. It is slightly sweet and yellow in color (probably because of the butter) and is very soft and buttery. I tried to look for a recipe for butter loaf, but none that comes close to it. So I searched for brioche instead, cos a brioche, too is made with butter and is slightly sweet and has that yellow-tinge to it.
 
I used my faithful bread machine to combine all the ingredients, cos with the amount of egg and butter in this recipe, I knew this would be another tacky recipe to knead by hand. The thing about brioche, it's very very delicious, but the dough needs to sit (or rise) in the fridge for at least 8 hours. To me, that's quite a good thing, cos I can prepare the dough in the bread machine the night before, and bake it the next morning for breakfast. The whole house smells like a bakery when the brioche is in the oven.
 
My brioche made in the bread machine is a recipe adapted from Martha Stewart, but halved.
 
This is the order I place the ingredients in the bread machine:
 
  • 3 eggs, medium size
  • 3tbsp luke warm milk
  • pinch of salt
  • 3tbsp molasses sugar
  • 480g all purpose flour
  • 1tbsp yeast
  • 120g butter, chopped into cubes (added only when all the above ingredients has combined thoroughly in the bread machine)
  1. Let the bread machine knead it for about 15min.
  2. Let rise in the bread machine for one hour, or the dough has doubled its size. Lift dough from bowl and drop back into bowl to deflate; repeat process once or twice. Cover bowl and transfer to refrigerator to chill for at least 8 hours and up to overnight.
  3. Generously butter or grease a loaf pan. Divide the dough into 5 equal pieces, form each piece into a ball. Place the balls of dough in the loaf pan, side by side.
  4. In a small bowl, whisk together an egg yolk and 1tbsp of milk. Brush top of dough with egg wash, reserve the remaining egg wash mix.  
  5. Let the dough sit in a warm place until doubled in size, about 1hr.
  6. Preheat oven to 195deg C (fan forced). Brush the loaf very lightly with reserved egg wash mix. Sprinkle with molasses sugar.
  7. Bake the brioche until just begins to turn golden in color, about 15min. Reduce temperature to 175deg C and continue baking until deep golden color, 20-25min more.

Red bean milk loaf (bread machine)


This is, again, another soft and fluffy loaf that's made and baked in my humble bread machine. I placed all the ingredients in the bread machine. 3 hours later (exact timing was 3:12hour), I came back and the whole house was filled with nice aroma of freshly baked bread, and I get to enjoy a nice cheese sandwich with my freshly baked bread.
 
This is a baby-friendly bread recipe that's without egg and very little amount of sugar or salt. I've been baking my bread with vegetable oil (grapeseed oil in my case) and the bread has always been very soft and fluffy, just like those sold at the bakery, but without the addition of softeners or improvers.
 
Here's the recipe for my red bean milk loaf
 
Starter dough:
  • 100g bread flour
  • 70g boiling water
Pour boiling water over bread flour. Stir to combine. Keep in a container in a refrigerator for at least one hour or up to 12hours.
 
Main dough (listed according to the order the ingredients are placed in bread machine):
  • 100g red bean and black rice, pre-cooked
  • 50g fresh milk
  • 40g vegetable oil (I used grapeseed oil)
  • 1-2tbsp brown sugar
  • 1tbsp soy powder / milk powder
  • pinch of salt
  • 200g bread flour
  • 50g all purpose flour
  • 1tsp. instant active dry yeast
  1. Set the bread machine in the normal bread mode (number 1), select crust setting to light, and choose 700g loaf size, and press start (启动).
  2. Place all the above ingredients into the loaf pan in the order, as listed above.
  3. When all the ingredients has combine together, add in the starter dough in small pieces.
  4. Let the bread machine does it work.
  5. In 3 hour 12 min, tada!! The loaf is ready!


Related Posts Plugin for WordPress, Blogger...