Showing posts with label activities for little ones. Show all posts

Monday, October 26, 2015

Fun activities and busy bag when flying with a toddler

Little J was merely 5 months old when he first flew. Our first flight experience with him was a disaster. A memorable disaster. He cried sooooo loud a lady came forward to offer kind tips to help us calm him down. Both hubby and I were doubting ourselves for ignoring our parents' advice of not bringing him on-board. 

From that moment on, I never bat an eye lid or even turn my head towards any crying baby or toddler in a plane, and I would frown whenever I hear any of my friends make nasty remarks about crying babies in plane. You'll never have the empathy for them, not until you become a parent. 

Now that J is turning 3 year old. I am proud to say I have no regrets ever, for making him an early flyer. Not only it gave both hubby and I more confidence as a parent, we have also had amazing memories and experiences flying with him all across the globe. Many friends reminded me that he will never remember much of the trip. Yes I KNOW THAT! But I would! 

Despite the fact that he's quite well-behaved in planes now, and he usually nap if the flight time is in between noon to 4pm, I still make tonnes of preparations ahead. I must also emphasize that we do not need to rely on ipads, smart phones or anything of that nature for him, as yet, which I guess, would explains the need of these busy bag activities. 

I know a lot of you will be travelling over the coming months, I decided to share some of my fun and educational activities that kept J happy on a few hours plane journey. 

A new toy wrapped in a present paper (so the fun begins from the anticipation and the present unwrapping stage) 

My brother bought him a new airplane kit by Emirates that came together with an airport mat. The mat were too big to lay on the tray table in the plane, so I folded it in half. The plane, the vehicles and the mat were no doubt his 'highlight' of the trip. 

I made the game more educational by making laminated nomenclature cards for all the vehicles found in the kit. It was definitely a fun one as they are all the vehicles seen in an airport. 


Laminated tracing cards, marker pen and pom-pom as eraser
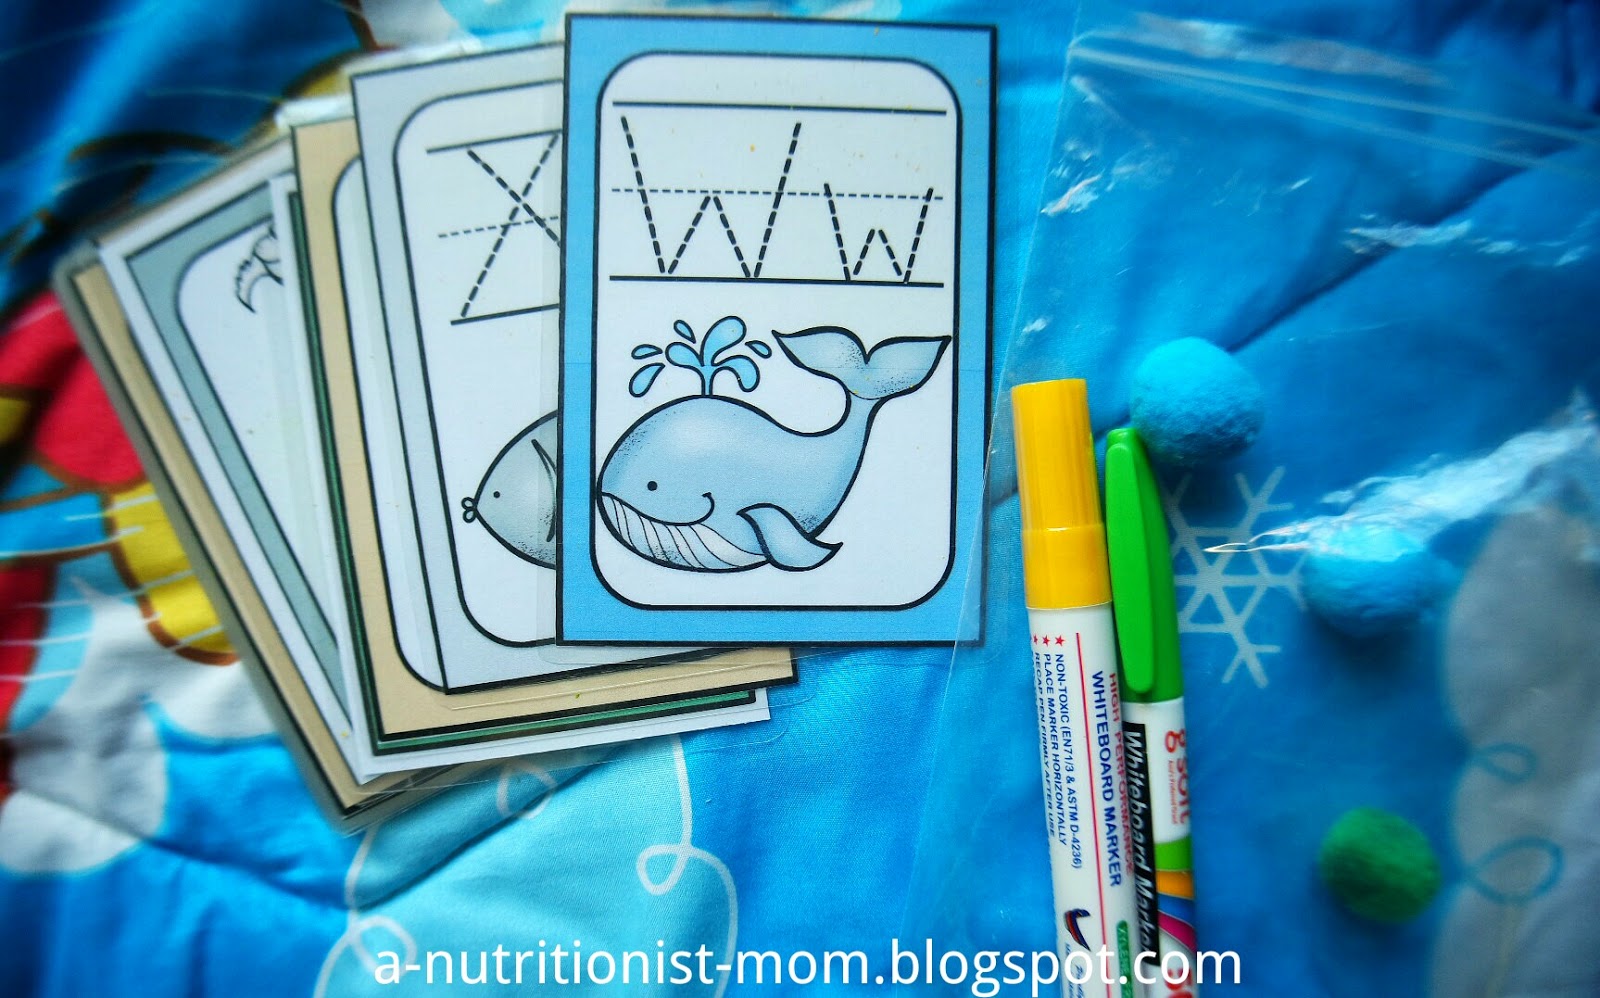


Make a book

I designed this sticker and 'make-a-book' activity by using stickers by Melissa and Dough. One of its theme was animals, so I have prepared so that he will be making a book about the animals that he will see at a zoo. We were going to visit the Singapore Zoo, so it was definitely a great idea for him to have a brief overview of all the animals we would be seeing. I printed the animals name on the paper and upon seeing the names, he would look for the animal from the sticker pad and stick it on the correct page.


More sticker workbooks (info from here)


Alphabet road tracks and his favorite vehicles
Printables from Gift of Curiosity


Monday, September 21, 2015

Crafts for tots: Moon and mid-autumn festivals


It's mid-autumn festival soon! It occurs on the 15th day of the eighth lunar month each year. It is also known as the “Moon Festival” as it is observed during a bright, full moon. Other than lantern, we have also done a couple of crafts for this upcoming festive celebrations, I love these crafts, they are such a pleasure to the eyes. J and I had done so many beautiful (they are probably just beautiful in our eyes, LOL) crafts I am having problem to store / frame them. Space issue. Still good issue nontheless. 

Highly recommended reads this month: 


  1. Papa please get the moon for me by Eric Carle
  2. A taste of the moon by Michael Grejniec
  3. Happy Birthday Moon by Frank Acsh 

Moon and star craft
We did this one a month back when we were reading 'a Taste of the Moon' by Michael Grejniec. Refer here for its detailed instructions. 


Last few days, these are the ones we have done. 

Moon Craft

Refer here for instructions. This was my favorite. 


Mid-autumn festival craft 


Sunday, September 20, 2015

DIY String Lantern / Owl Lantern


It's mid-autumn festival next week.Over here where we are, it is an occasion for reunion among friends and relatives to eat mooncakes and watch the moon. The 'chefs' at home would cook up storm to celebrate the mid-autumn festival. My favorite part of the festival is the carrying of brightly lit lanterns around the neighborhood with the other kids. This is again, another, brilliant opportunity for J to relive some of my fond childhood memories. 

Earlier this month, I have decided that this year, we'll be making J's first ever lantern. I thought we can easily have it settled with no more than 20 ringgit. It turned out that I eventually spent about 50 ringgit making this cutie lantern, but I'd also made two beautiful rustic and mystic looking lampshades out of it. So it wasn't too bad then. 

J is turning 3 next month. You know everytime I had my big Pablo Picasso's ideas and had our whole room laid out for our big projects, there'll be at least 2 or 3 that would squint their eyes, frowning and opposing at my "big" ideas. But there will always be one person, my buddy, my partner-in-crime, my supporter, my protege who'd stick with me, who'd be more than happy to be involved in our endeavors - my little J. He's such a positive person he exudes great energy and is such an encouragement in all the things we do (the qualities he'd probably gotten off his dad, these are actually the qualities that I should learn from him). We went to the stationary shop 10 minutes before the shop closed to top up our glue, he helped me prepare the glue mixture, he helped me reel out the yarn and was a great extra pair of hands as this is indeed a very messy project. It wasn't a difficult one, just messy! But we enjoyed it very much. I hope you would enjoy them as much as we did.


Here's my buddy, in charge of the glue mixture, so proud of him! 

You'll need: 
**I used three batches of the following recipe to coat 3 balloons, one small size and two mediums. 
  • Balloons, blown up to whatever size lantern you want to make, the bigger the balloon, the more oblong it becomes 
  • Hemp or cotton yarn (I used yarn, refer to pic above)
  • 60ML basic white glue (refer here for pic) 
  • 1/2 cup cornstarch 
  • 1/4 cup normal room temperature water
  • Vaselin (Instead of this, I used leftover lip gloss that is not usable or had gone past expiry date)
  • Clear, fast-drying spray paint (I did not use this)
  • Lantern light or white twinkle lights 
Instructions: 
  1. Blow up balloon and hang so that its sides are not touching any areas. Remember to prepare work area by laying down old newspapers on floor. 
  2. Mix white glue, corn starch and water in container until all lumps are removed. Its consistency is like a thick creamy mushroom soup. 
  3. Smear vaseline (or used leftover lip gloss for my case) all over the balloon. Little J helped me out with this. 
  4. Dip the yarn into the glue mixture and twine all over the balloon. I had no drawings or instructions to follow to twine, just did it the way I liked them to be. 
  5. Leave to dry for at least 24 hours or until twine is completely rigid. 
  6. Pop the balloon and discard remnants. 
  7. Spray with a clear coat or spray paint (I opted-out this step). 


Friday, September 18, 2015

DIY dinosaur fossils with coffee dough

Setting the standard high for toddler's playtime 


Honestly, with activities as interesting as this, who'd still wanna spend time on ipad or any other digital devices? In fact, when I made this, I was adamant that I am setting the standard and expectation too high for a toddler's activity. I wasn't sure if I should let him go ahead or should I keep this game aside for later use. But later when? I guess I am worrying too much. Anyways, I cast aside the concern and let him go ahead with the game. As expected, he loved the 'panleontologist's work' of excavating and studying fossils. The next morning, he told me that he wants to do it all over again. Ermmmmmmm... 

Prior to this we have used salt dough for handprint ornaments, unfortunately, the dough turned out to be very brittle after baking and it never lasted for more than a day, they just broke apart too easily. So this time round, I was a little skeptical to start with, but I proceeded anyways, knowing that I wasn't gonna have these coffee salt dough fossils as keepsake, so I wouldn't feel too bad even if the dough, again, is a brittle and fragile one. Incredulously, the coffee dough was good!! It's been a day and a night, the fossils are still intact. In fact, the coffee dough was actually a good one to play with too, as it is not too messy nor too tacky, and is easily mould into shapes. I am making another fresh batch of coffee dough today, not to make fossils, but just to play with. 

To make this coffee dough, you'll need to have a small amount of coffee grounds. I went to a nearby cafe, bought a caffe latte and I asked if they'd kindly give me some of their used coffee grounds. They gladly offered me a big bag which can probably make at least 20kilos of coffee dough!! Hahaa.. bless them. 

Here's the recipe and instructions for the coffee dough and the dinosaur fossils: 
  • 3/4 cup of water (normal room temperature)
  • 1 cup of salt 
  • 1 cup of coffee ground 
  • 2 cups of all purpose flour (I always use near or expired flour) 
This amount makes 3 stones containing dinosaur in them, and about 7-8 dinosaur fossils (see photos). 

Instructions: 
  1. Combine all ingredients and knead to form a smooth dough. 
  2. Take a small handful of the dough and form a ball. Press down with heel of hand to make a flat disk, about half inch thick. Use it to wrap a dino and seal and smooth. Place onto an oiled baking sheet. 
  3. To make fossils, take a small handful of dough and form a ball. Press down with a dino to form imprints. Place fossils onto oiled baking sheet. 
  4. Bake at 100degC for about 1-2 hours, or air dry under sun for a day or two. 


This is a photo of the fresh, unbaked coffee dough, which is pretty pleasant to play and shape with. 


Monday, September 14, 2015

DIY marble run with craft sticks


When all the other mommy bloggers or the homeschooling moms are unrelentingly making felt busy bag or felt toys for their little ones, I realized that I am not at all inclined to make them for my boy. I didn't understand why, they weren't exactly too difficult to make, but I was adamant that they are not gonna get J excited for too long. The sentiment is starkly different when I saw this DIY toy. When I saw this, I knew I'm gonna make this (and yes, I made it the day I saw this on pinterest). He's gonna love this! And I am sure he will have his own ways of playing with this. Then, it all makes sense! Those mommies making the felt toys were making them for their daughters! A boy like J wouldn't be charmed by felt toys, instead, he wants something that explodes, something that makes loud bangs, something that collides, something that twists, something that crashes.  

I enjoyed this a lot when I was young. Were you in my era, when we used to insert 20cents into the machines to have a go at these marble run games? Even now at this age, I still find myself mesmerized by the movements of the marbles coupled with the sound of the collision. The sensorial combo actually calms me down. Interesting. 

This is very easy to do. It didn't cost me a lot. I think I spent about 2 ringgit to make this (to buy the superglue and the craft sticks). You probably won't need to spend any if you have your hot glue gun and other materials (as in the sticks, the marble ball and an unused shoe box) at home. 

You can view its video on this FB link

Tuesday, August 25, 2015

Toddler's Book: Foundational Maths Sense Activity & Sticker Workbooks 阶梯数学

Preschool maths is not about teaching a preschooler number 1 to 10, or a mere introduction to colors and shapes. 

I think the title of this book is quite confusing. It's normal that we naturally associate 'maths' with the concept of plus, minus, divide or multiplication. And it is scary when people think we start teaching these to a little 3 year old. But this book is not that kind of workbook.It is a book with 46 pages of fun hands-on full-color activities, easy-to-follow directions that involves exposure to different element of maths to build on the skills necessary for learning and loving maths later on in school. 

The different elements of preschool maths activities include: 

  • Geometry (shape) 形状 
  • Measurement 对应比较
  • Spatial relations 空间知觉
  • Maths language - more/ less, bigger/ smaller, near/ far 数学语言
  • Number sense 
  • Patterning 
  • Positioning words
The books are available in sets of 2 (part A and B, each book has 46 pages of activities, with one page of stickers). Each set is available at RM30. Price is not inclusive of postage. 

There are 2 types available: 
2-3 year old (designed for preschooler) 
3-4 year old (designed for kindergartener) 


Patterning

Maths language/ Spatial relations

Number sense


More/ Less


Related Posts Plugin for WordPress, Blogger...