Thursday, February 27, 2014

Creamy tomato soup with pasta and purple sweet potato bread stick

In the mommies network Healthy Food for My Baby, there was a dad (hmm... I realized it's not right to call it a mommies network) who's very committed to preparing all sorts of yummy meals for his little ones. I get very impressed cos all the men in my family doesn't cook. This is a breakfast meal that was inspired by one of his meals prepared for his little boy. 
 
This is quite an easy one. The purple sweet potato bread loaf was done in my breadmaker using this recipe, but the spinach puree was replaced by purple sweet potato puree. I served them fresh on the first day. Second day, I toasted them in the oven and spread some pesto on the bread. Still nice!


Here's the recipe for the creamy tomato soup:
This recipe makes 2-3 servings
*2 tomato, blanched in boiling water to remove the skin
*1 small onion, peeled and chop
*2 cloves garlic, peeled and minced
*100g pumpkin

Steam all the above ingredients for about 20min until soft, then blend with about 1/2-1cup of milk until achieve soup- consistency. Serve with mini corrallini pasta.

Tuesday, February 25, 2014

Spinach bread loaf for breakfast (delay timer on Breadmaker)

I think the family and I are quite bored of the usual oat bread that we've been having so let's do something different for breakfast. I bought a few bunches of nice green spinach. Gave them a quick blanch in hot boiling water and puree them. I then used this green puree to bake a bread. I've set the breadmaker on delay timer (prepped everything at 8pm the night before and set the breadmaker on timer) so that I can have freshly baked loaf ready for breakfast.
 
It was 6:30 am and I could hear the sound 'beep beep beep' from my bedroom. I quickly ran downstair to check out the loaf. The aroma of the freshly baked bread has already assured me that it's good one. I opened up the lid and tada!! .. greeted by a great-looking green spinach loaf. I took the loaf out of the breadpan and let cool and gone to get ready for the day. By 7am, the loaf has cooled down nicely and was ready to be sliced.
 
I love the natural green color imparted by the spinach puree. But for those who doesn't like the green earthy taste from vege, don't worry. This green loaf doesn't have the green earthy raw taste.
 
For the sandwich filling, I used the same three-cheese filling that I have previously shared in my post on Japanese green tea loaf.

Updated 19th April 2014: This recipe only fits a 1-pound loaf tin. If you want a bigger recipe to fits a 2-pound loaf tin, try reference this.


For recipe of the green spinach loaf
 
 
Scalded dough
 
  • 100g bread flour
  • 70g boiling water 
 Pour hot boiling water over bread flour. Mix to combine. Leave cool for 30min in fridge.

Main dough
*The ingredients were added into the breadmaker pan in the following order
  • 100g spinach puree (prepared from pureeing blanched spinach)
  • 50g water (normal room temperature)
  • 40g grapeseed oil
  • 2tbsp soy milk powder / milk powder (I usually just add milk into my bread, but since this bread is not gonna bake until about 7hrs later, I wont be adding milk, fear that it may go off easily in Malaysian weather)
  • 2tbsp molasses sugar
  • pinch of salt
  • 200g bread flour
  • 50g all purpose flour
  • pieces of chilled scalded dough scattered on the side, on top of flour
  • make a well in middle of flour, and place in 3/4 tsp. active dry yeast
Adjust settings for the bread: size - 700g ; crust - light.

Pre-set the timer. It was 8pm in the evening and I wanted the bread to be ready by 6:30am, so the timer setting would be 10:30 hour.


This is the breadmaker I've been using. For info, kindly refer here or email justhealthsandakan@gmail.com.


Friday, February 21, 2014

Japanese green tea loaf (breadmaker loaf) / Three-cheese sandwich with green-tea bread

I knew it's gonna be a very busy day for me today, I wont have time to roll or shape any bun, so I just dump everything into the breadmaker when I arrived at the office and let it does its work on its own. At lunch time, I'm greeted by nice bread aroma and a soft fluffy green tea loaf is ready for lunch.
 
If you've been following my blog, you would have known that I've been baking bread with Alex Goh's magic bread recipe and it has become the fool-proof base recipe for me. Every bread that this recipe bakes is super soft and fluffy and they remain soft till the next day.


Recipe for three-cheese filling for this sandwich:
  • 1tbsp cream cheese
  • 1tbsp grated Cheddar
  • 1tsp grated Parmesan
Combine all in a bowl and spread as sandwich filling.

 
Here's the recipe for my breadmaker's Japanese green tea loaf
 
Starter dough:
  • 100g bread flour
  • 70g boiling water
Pour boiling water over bread flour. Stir to combine. Keep in a container in a refrigerator for at least one hour or up to 12hours. If you don't have the time to prepare this in advanced, just measure in bread flour into the breadpan, pour in 70g boiling water and press start to let it combine. Then add the following ingredients in the order listed.
 
Main dough (listed according to the order the ingredients are placed in bread machine):
  • 150g soymilk (Fresh or powder-reconstituted)
  • 40g grapeseed oil
  • 1-2tbsp brown sugar
  • 1tbsp Japanese fine green tea powder
  • pinch of salt
  • 200g bread flour
  • 50g all purpose flour
  • 3/4 tsp. yeast
  1. Set the bread machine in the normal bread mode (number 1), select crust setting to light*, and choose 700g loaf size, and press start (启动). *I've always chosen 'Light' cos I do not want to have a thick crusty skin for my loaf.
  2. Place all the above ingredients into the loaf pan in the order, as listed above.
  3. When all the ingredients has combine together, add in the starter dough in small pieces.
  4. Let the bread machine does it work.
  5. In 3 hour 12 min, tada!! The loaf is ready!
 If you wish to knead this bread by hand, please refer here.

Dried zucchini chips

Zucchini is not readily available where I am, so I asked my mom to bring some back to me when she was visiting from Peninsula Malaysia. She brought back quite a lot, and the lil' fella may turn into a ZUCCHINI eating them everyday :D. So instead of feeding him zucchini everyday, I decided to dehydrate some so that I can keep them stored in the fridge and use them in his meal or for baking later on. I added some of the dehydrated chips when cooking his congee and it worked well. The zucchini tastes exactly like the fresh ones.
 
1. Firstly, wash the zucchini thoroughly. Thinly slice them to about 2mm thickness.
2. Dip them in a vinegar solution (1 cup water + 1tbsp apple cider vinegar).
  
 
3. Season them with sea salt and black pepper (optional).
4. Arrange them on dehydrator food trays.


5. Adjust the temperature to 60deg C.
6. Turn on the dehydrator.
7. 6 hours later ....


Store in an air-tight container.
It will last for 2-3 weeks in room temperature,
1month in fridge
3months in freezer
 
Immediately, I tried adding them into the lil' fella's congee to find out how it differs from fresh ones. Surprisingly, it tastes exactly the same like the fresh ones! How great! You can also do the same with tomato, pumpkin, sweet potato and onion too!


For info on this dehydrator, please refer here.

Wednesday, February 19, 2014

Homemade bagel for breakfast

Bagel was my favorite when I was in the uni. I was one of those uni students always looking out for marked-down items at the end of the day and they can be selling 4 bagels at just 20p!! Good deals, ai? Now that I am baking my own bread and pizza base, I am kinda shocked how easy it is to prepare bagel. Hahahaaaa
 
I used my breadmaker to help me knead and first proof my bagel dough. Here's the step-by-step pictorials of how I made them. I topped them with a combination of black sesame seeds and chopped pumpkin seeds. Don't they look lovely?


This recipe makes 3-4 bagels
Recipe adapted from here.
 
Ingredients:1tsp active dry yeast
1/2 tbsp. brown sugar
3/4 cup warm water (or more)
250g bread flour (high protein flour)
pinch of salt 
1tsp oregano, basil and tomato flakes


1. Place the warm water in the breadpan. Add in brown sugar, salt and seasoning. Top with flour. Make a well on top of flour and place in the yeast.
2. Select mode no. 6 和面 to combine and knead the dough for about 10min or until you get a smooth-surface dough.
3. Select mode no. 8 发酵 to proof the dough for an hour.
4. After about an hour, or the dough has doubled in size, take the dough out of the breadpan, punch the dough down, and let it rest for another 10 minutes.
5. Carefully divide the dough into 3-4 pieces. Shape each piece into a round dough ball.
6. Coat a finger in flour, and gently press your finger into the center of each dough ball to form a ring. Stretch the ring to about ⅓ the diameter of the bagel and place on a lightly oiled cookie sheet. Repeat the same step with the remaining dough.


7. After shaping the dough rounds and placing them on the cookie sheet, cover with a damp kitchen towel and allow to rest for 10 minutes.
8. Bring a large pot of water to a boil. Reduce the heat. Use a slotted spoon or skimmer to lower the bagels into the water. Boil as many as you are comfortable with boiling. Once the bagels are in, it shouldn’t take too long for them to float to the top (a couple seconds). Let them sit there for 1 minute, and them flip them over to boil for another minute.


9. Once all the bagels have boiled (and have been topped with your choice of toppings), transfer them to a lightly oiled baking sheet. Preheat oven to 175deg C.
10. Bake for 20 minutes, until golden brown.


Cheese sticks for baby

I did pumpkin cheese sticks for the lil' fella when he was about 8month old, then I stumbled upon this recipe which uses even less ingredients. Even though he's way over 1 year now and he can eat almost anything, but a simple recipe is still what I like. Woke up at 6:30am today and that's consider early, cos he doesn't wake till about 7:15am and I only need 15min to prep his lunch, so I got together some ingredients (and even snapped some photos) to bake these lovely cheese sticks. The original recipe has baking powder in it, I actually forgot to add them and they turned out just as nice, guess it's okay to omit them, especially if you have a baby who's still under 10month old.
 
This is a great teether or finger snacks for the baby, especially if travelling in a car or in a stroller.
 
 
You'll only need 4 ingredients, flour, butter, cheese and milk.


You'll only need 4 ingredients for this recipe:
  • 1cup all purpose flour (or known as plain flour)
  • 2tbsp butter, chopped into little cubes (Do not melt them)
  • 1/2 cup grated Cheddar cheese plus 1tbsp grated Parmesan (but Parmesan is optional)
  • 3-5tbsp fresh milk *the amount of milk added may differ depending on your flour used

And I've used my breadmaker to combine everything and form a dough. (I've been using it to make all sorts of food lately, just made some bagels last night and they turned out fab. It's so dainty I actually bring it to work with me and them carry it home in the evening).

To make the dough in the breadmaker,
  1. Sift flour into the breadpan. Press mode no. 6 和面 and select timer 时间 to adjust the timing to 8minutes. Add in chopped butter. Let them combine until the mixture resembles breadcrumb.                              
  2. Add all cheese. Mix well.
  3. Drizzle in milk while machine continues to mix. Continue mixing until dough forms.
  4. On a floured board, roll dough into a flat sheet, about 0.2cm thick (see photo above). Cut into 2cm wide strips.                           
  5. Gently twist strips while placing them on a greased baking tray.
  6. Bake at 180°C for 10–15 minutes, or until golden. Cool on a wire rack.

Tuesday, February 18, 2014

Yogurt milk bun with cranberry


This is just another variation of the baby soft milk bun recipe I have always used, but I just replaced the 230ml liquid with 250g of yogurt milk I've made using my breadmaker. The buns turn out to be really soft and it doesn't has the sourness from the yogurt.

Without the addition of any softener or bread improver, this recipe still yields very fluffy bread and the bread remains soft for at least 24-48 hours if well kept in an air tight container. I’ve also taken out the egg and replaced the liquid of this recipe to milk or baby food puree, making it a perfect snack for kids and toddlers. This recipe is also great with a bread maker.
 
This recipe involves the preparation of a starter dough (or known as scalded dough). The reason for this is to partially break down the gluten in the bread flour, thus creating more volume and fluffiness to the bread (the soft bread that I wanna bake for my baby).
 
Recipe adapted from Alex Goh's Magic Bread.
 
Makes about 9 buns (about 100g each)
Starter dough / Scalded dough
100g bread flour
70g boiling water

To prepare the starter dough, pour boiling hot water over flour and stir with folk until combined into a slightly tacky dough. Cover and chill in the refrigerator. Keep for 20min before use, can keep up to 12hours in refrigerator.
 
Main dough
300g bread flour
50g oat flour/ wholemeal flour (optional, if not just replace with all purpose flour/plain flour)
50g all purpose flour/ plain flour
3tbsp brown sugar
Pinch of salt
1tbsp instant dry yeast
250ml plain yogurt milk (made from breadmaker)
60g grapeseed oil

For the Main Dough:
1. In a big bowl, mix together bread flour, plain flour, brown sugar and salt. Add in oat flour. Add instant dry yeast and mix well. Form the flour mixture into a well. Add liquid (water or milk or puree) and oil.  Mix to combine. Tear the starter dough in little pieces and knead into the main dough. Knead for 10-20 minutes until smooth and elastic. During hand kneading, the dough also needs to be thrown onto the working surface once every few minutes between kneading to improve the dough structure. (I usually just pick up the dough to about head-high and throw it down onto the working surface few  times every few minutes between kneading.)
2. At this stage the dough should be able to be pulled and stretched into a thin membrane (Refer to picture no. 4 and 5. window pane test: Grab a ball of the dough and try stretching the dough until it is as thin as a membrane without tearing), another test to know if it’s ready is the poke-a-hole test. Use your finger to poke a hole in the centre of the dough. The hole should not bounce back. It’s ready if it passes both test. The dough should be slightly tacky but not sticky or moist.
Picture no. 4 Window pane test

Picture no. 5 Window pane test
 
 
First Proof/ Rise
Form the dough into a round ball and let it rise until double in size in a large greased bowl, cover with cling film (should take about 1 hour in warm weather, longer in winter months). Optimum room temperature for this first prove is 28°C with a humidity of 75%. To test if the dough has risen properly, dip a finger into bread or plain flour and poke down into the centre of the dough as far as your finger will go and pull out again – the hole should remain if it is ready (refer to picture no. 6). If the dough springs back, then it is not ready, continue to proof further.
3. Punch down (picture no. 7), knead and form into a ball shape. Then divide into small portions, about 60-100g each. Form each into balls and let rest for 10 minutes.
4. Shape and fill the buns (optional). Brush top of bun with egg wash/ water or milk.
My choice of topping: chopped pumpkin seeds and brown sugar.
Second Proof/ Rise
Place all finished buns on a greased baking sheet, lightly cover with cling film, and let rise until double in size (about 1 hour in warm weather). Optimum room temperature for this final prove is 38°C with a humidity of 85%.
5. Bake in preheated 170°C oven for about 16 to 20 minutes, or until golden brown. Oven temperature may differs according to make of oven.
 
http://a-nutritionist-mom.blogspot.com/p/donlim-multifunctional.html
 
Please refer here, or email justhealthsandakan@gmail.com for info on this breadmaker.
 

Monday, February 17, 2014

Mini pizza with Cheddar and sun-dried tomato (breadmaker)

Ingredients for the sauce on pizza base, to be steamed and pureed.


Ingredients:
1 cup warm water 1 tablespoon extra-virgin olive oil
1 teaspoon salt
1 1/2 teaspoons brown sugar/ molasses sugar
3 cups bread flour (high protein flour)
2 teaspoons instant active dry yeast
Recipe:
Add all the dough ingredients (in the order listed above) in the bread pan. Press mode no. 6 (knead 和面) and select time (时间), adjust to 00:10 (10min). Press start button (启动) NOTE: Don't be afraid to open the lid and check the dough. It should form a nice elastic ball.
When the dough cycle has finished, remove dough from pan and place into a lightly-oiled bowl. Cover the bowl tightly with plastic wrap and let the dough do a slow rise for 24 hours (or at least 8hours) in the refrigerator before using. Do not skip this step
After 8 hours, take the dough out of the refrigerator. Leave at room temperature (still in covered bowl) for about 30min.
On a lightly-floured surface. Knead the dough several times and form the dough into a round ball; cover with a towel and let rest for 10 minutes.
After the 10 minute rest period, on a lightly-floured surface, pressing down with floured fingertips, shape the dough into a small, flat disk. Working from the center, push the dough outward while spreading your fingers, making the disk larger.
Pick up the dough. Move your hands along the edges, allowing gravity to pull the dough into a circle, oval, or rectangle. (Tips: You may use a rolling pin, but the traditional pizza base is made without a rolling pin).
 
When ready to assemble your pizza:
Place the dough on the prepared pan and dock (prick) the dough with a folk to help control blistering and bubble formation during baking. Prick it all over the middle part (not the edges).
Adding Pizza Ingredients:
Brush the preheated dough with some olive oil and layer your pizza ingredients (toppings), see below for the sauce I prepared for this pizza.
Preheat the oven to 180deg C.
Bake for approximately 15 to 20 minutes or until golden brown on the bottom and the top is bubbly.
Remove your pizza from the oven and allow to cool for 5 minutes before transferring to a serving pan. This cooling down step allows the crust to stay crisp while it cools.
Once cool, using your pizza cutter or knife, cut your pizza into slices and serve.
Freezing Pizza Dough - How To Freeze Pizza Dough:
Once the pizza dough is prepared, form the dough into a ball the size you would use to make one (1) large pizza.  If making a larger batch of dough, for the dough into balls. Optional: Lightly spray each dough ball with cooking spray or lightly wipe with olive oil (making sure all sides are lightly covered). Place each ball of dough into individual re-sealable freezer bags. Seal, squeezing out all the air from the bag. Place in the freezer until ready to use. The pizza dough may be stored in the freezer for up to 3 months.
When ready to use, remove from the freezer and place in your refrigerator 12 hours or overnight. Before baking, remove the dough from the refrigerator and bring to room temperature, let sit on the counter for approximately 30 minutes. You are now ready to stretch out your dough and prepare your pizza.


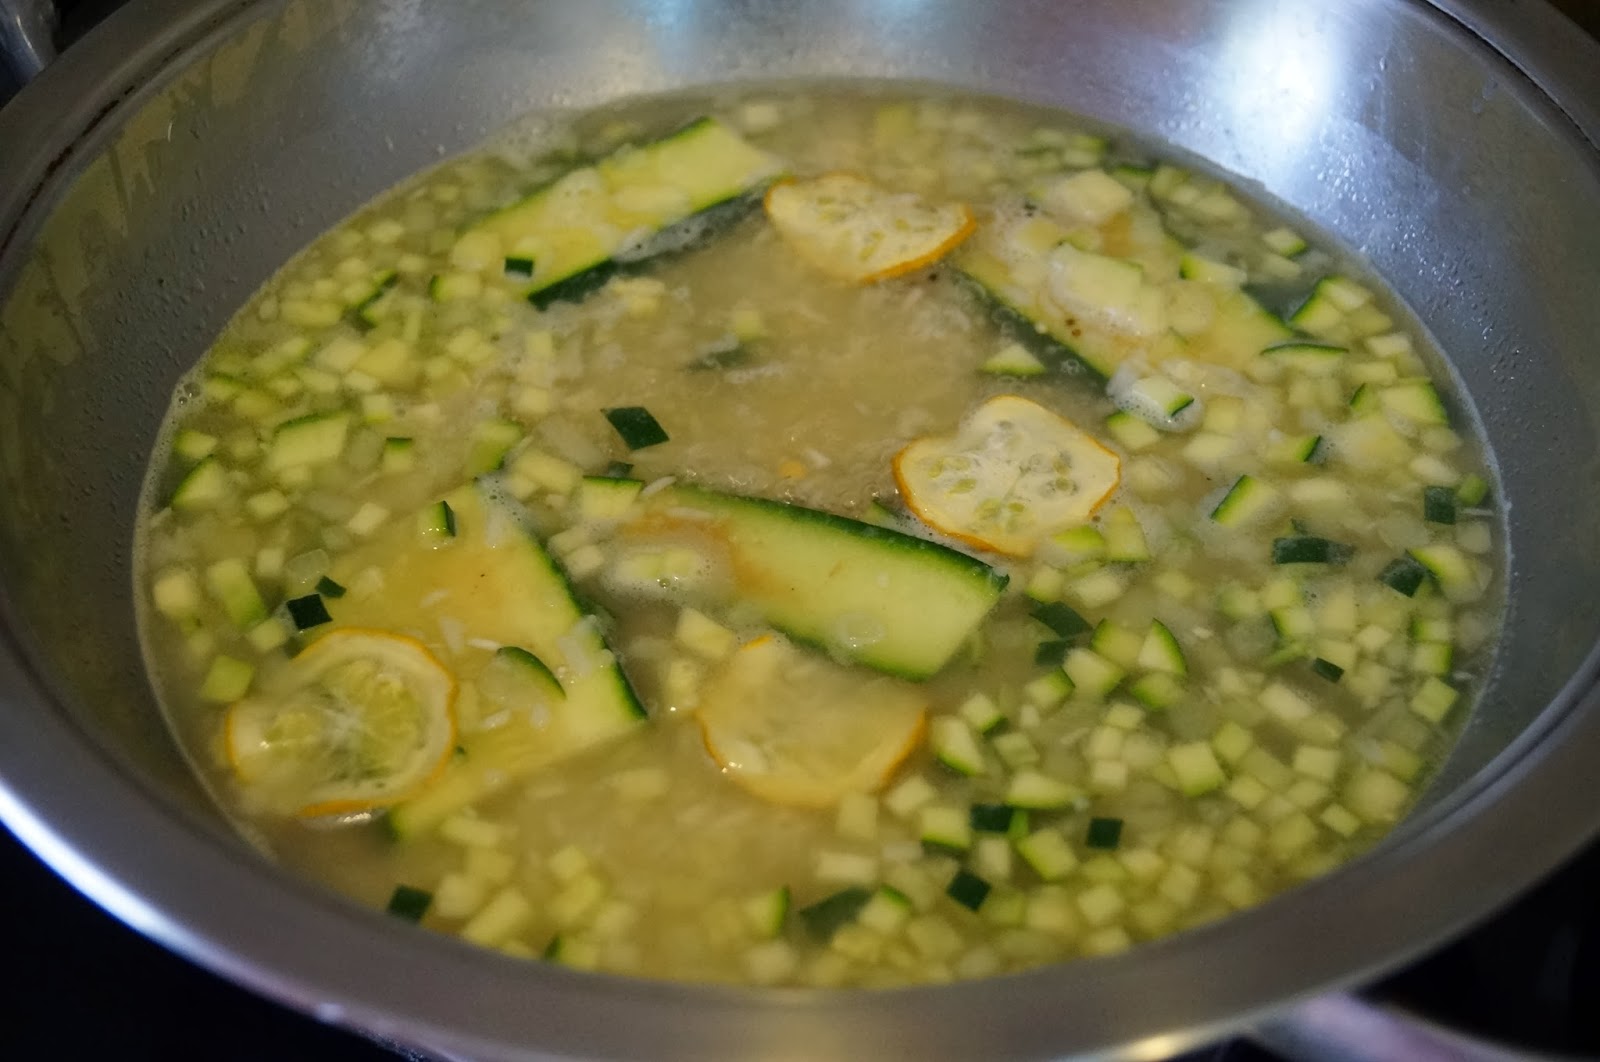
Preparing the topping and sauce:
 
For the sauce, I had:
  • 3 cherry tomato, halved
  • 50g pumpkin
  • 1/2 onion
  • 1-2 cloves garlic
Steam all these in a steamer until soft. Puree.
Brush the top of pizza base with olive oil. Spread with a thin layer of the sauce (don't spread too thick, cos it may soften the pizza dough, and you wont get the crispy crust).
Top with grated Cheddar, sliced almond, sliced olives and chopped sun-dried tomato (or any other topping of your choice).


For ideas on other toppings, please refer:


Related Posts Plugin for WordPress, Blogger...